
BURCHDA General User Manual(Y3 AWD, C35 AWD, R5 PRO MAX)
Electric Bicycle User Manual
Operation and maintenance
ELECTRIC BICYCLE
Suitable for New Models: BURCHDA Y3 AWD, C35 AWD, R5 PRO MAX, HC26 AWD
Contents
- Model introduction1–2
- Bicycle installation3–7
- Battery disassembly and assembly8–9
- Electric bike charging10–11
- Precautions11–12
- Precautions for battery use13
- Pattern description13
- Motor description14
- Warning matters14
- After-sales service15
All pictures in this manual are for reference only. Please refer to the actual product you purchased. The product may have updated accessories from time to time and may differ from the pictures. All interpretation rights belong to the company.
Contents
Model Introduction
This booklet covers the mountain, dual-drive, folding, commuting, and electric motorcycle series. Find the picture that matches the product you received. Parts may differ by model.
Dual drive series

Labeled parts: front motor · rear motor · controller · LCD display · front fork · shock absorber · battery
Mountain vehicle series

Labeled parts: motor · controller · LCD display · front fork · shock absorber · battery
Folding series

Labeled parts: motor · controller · LCD display · front fork · shock absorber · battery
Commuting series

Labeled parts: motor · controller · LCD display · front fork · battery
Electric motorcycle series

Labeled parts: motor · controller · LCD display · front fork · shock absorber · battery
1–2
Bicycle Installation
About 95% of the bicycle is already assembled. Install the remaining parts in the order of steps 1–4 after you receive the product. Match the handlebar and front-wheel pictures to your model. If your bike has no adjustable handle, skip that handlebar step.
1-A Adjustable handlebar / riser
- Turn the riser straight ahead and align it, then tighten the screws on top, and finally fix the two screws behind the riser. If there is no adjustable handle, skip this step.
- Install the handlebar riser and tighten the faceplate bolts evenly.


1-B Fixed handlebar riser
- Install the handlebar riser, align it, and tighten the clamp bolts.
2-A Nut-axle front wheel
- Adjust the nut position on the axle.
- Install the front fork onto the front-wheel bearing / dropouts.
- Tighten the left and right nuts as shown.


2-B Thru-axle / bearing style
- The front wheel is shown in the picture.
- Install bearings as shown.
- Install the other end the same way as step 2.
- After successful installation, the wheel should sit fully in the fork.
- Insert the wrench into the bearing / axle.
- Tighten both ends of the axle as indicated.
2-C Quick-release front wheel
- The front wheel is shown in the picture.
- Install the front fork onto the wheel.
- Insert the quick-release axle into the front wheel as shown.
- Install the other-end spring and nut.
- Rotate the lever to close the quick release and lock the front fork.
- Confirm the quick release is fully locked before riding.
2-D Dual-drive installation steps
- Take out the screws and nuts.
- After removing the screws, the hub looks as shown.
- The other end is shown in the figure.
- Install the front fork onto the bearing / dropouts.
- Install the safety buckle.
- Find this accessory in the accessory pack.
- Install the mounting screw.
- Install the nut and tighten it. Repeat this step on the other end.
- Connect the motor wire. The arrows on both ends of the connector must line up. Then install the motor-wire holder.


2-E Dual-drive installation (slot / open dropout)
- The front wheel is shown in the picture.
- The other end is shown in the figure.
- Install the front fork and insert the adjusted front-wheel axle into the front-fork slot.
- As shown, install the front fork fully onto the axle.
- Tighten the screws.
- Connect the motor wire. The arrows on both ends of the connector must line up. Then install the motor-wire holder.
- Install the mudguard onto the fork or frame mount.
- Install and tighten the bracket screws.

4-A Light + pedal (variant A)
- Install the light on the fork or handlebar mount.
- Fit the clamp / bracket as shown.
- Install the gasket as shown.
- Connect the light cable. The arrow direction on the connector must match.
- Take out the pedals marked R and L, align each with the matching crank hole, and lock with a wrench. The right pedal is right-hand thread; the left pedal is left-hand thread.
4-B Headlight + pedal (variant B)
- Install the headlight.
- Connect the light cable. The arrow direction must correspond.
- Take out the pedals marked R and L, align each with the crank hole, and lock with a wrench.
3–7
Battery Disassembly and Assembly
The electric-vehicle battery is fitted with a lock. To remove it, use the matching key to open the lock and take the battery out. Find the method that matches your model.
When the battery is removed, the lock cylinder must be retracted into the battery. Do not force the pack if the lock is still extended.
A-1 Suitable for folding models
- Open the safety buckle first, then open the folding buckle.
- Insert the key, twist it clockwise, push it up, then twist clockwise again to retract the lock into the tube.
- Take out the key and take out the battery.
A-2 Suitable for R5 PRO
- Rotate the key clockwise to lock the battery, and counterclockwise to release it.
- Remove the battery.
B Suitable for mountain vehicles
- Open the battery lock.
- Press the switch to eject the battery.
- Remove the battery.

C Suitable for vehicles with rear-mounted batteries
- Turn the key to OFF, then push it forward, then turn it to the Lock position. The battery can be taken out at this time.
- On folding models, use the folding switch if the seat or frame blocks the pack.
- Flip up the seat if needed and take out the battery.


D Suitable for external battery models
- Open the battery lock.
- Remove the battery.
8–9
Electric Bike Charging
First connect the charger to the electric-bike battery, then connect the other end to the power source. Use the diagram below to find the charging port — match the warning label or the shape and position of the port on your bike.
Electric bicycles are equipped with special batteries and must be charged with the special charger provided by the company. Turn the bike power off before charging. Connect the charger output to the bike first, then plug the charger into the wall. The red indicator on the charger means charging is in progress.

10–11
Precautions
- Please carefully check if all parts are in good condition. If there are any issues, contact the dealer promptly.
- Comply with urban traffic laws and regulations when using the bike.
- Reduce speed in rain, snow, or on slippery roads. Increase braking distance and avoid riding if conditions are unsafe.
- Do not disassemble parts without authorization. If you need replacements, buy standard parts from the dealer.
- Do not ride through deep water. If standing water reaches the lowest point of the motor hub, it can cause circuit faults.
- Do not touch the metal contacts of the battery. A short circuit can cause accidents and fire.
- Wear a safety helmet and carry items in accordance with the law.
- Do not park electric bicycles in the lobby, stairs, corridors, or emergency exits of buildings.
- Because product technology is updated continuously, the physical product may differ from this manual. Refer to the actual product.
Special notes
- Do not park electric bicycles in the foyer, stairs, walkways, or safety exits of buildings.
- Electric bicycles should not be charged or parked in residential buildings. When charging, keep away from combustibles and flammable materials, and avoid charging for a long time.
- Waste batteries must not be disassembled without authorization.
Riding precautions
- Accelerate slowly when starting, and help with the pedals when climbing. This prolongs the life of the battery and motor.
- The controller has overload protection. It cuts power when overloaded and restores power when the load returns to normal.
- The maximum load capacity of this bicycle is 120 kg (including the rider). Do not overload. On complex roads, ride carefully and use the shock-absorption function if fitted.
Parking precautions
- Turn the power switch off when pushing the bike, so an accidental twist of the throttle cannot start it.
- When parking, turn off the power, lock the battery, and remove the key.
- For riding safety and to keep the bike in the best condition, maintain it regularly.
11–12
Precautions for Battery Use
- A 20 Ah battery takes about 6–7 hours to charge. A 30 Ah battery takes about 9–12 hours.
- When the indicator turns green, the battery is full. Switch off the wall power, unplug the charger, and avoid charging for a long time (no more than 8 hours for 20 Ah, no more than 12 hours for 30 Ah).
- Do not cover the charger or battery while charging — overheating can be dangerous. Start charging when the charge is below 20%. For long-term storage, keep about 50% charge and recharge once a month.
- If you smell an unusual odor during charging, stop immediately and send the charger / battery for maintenance.
- Do not touch the battery or charger while charging. Children must not touch the charger.
- Keep the charger and battery away from flammable materials. Do not charge near babies or children. Do not leave charging unattended for a long time. Avoid charging in the early morning.
- Do not use another brand of charger. The charger is a high-voltage circuit — do not disassemble it.
Battery storage
- Store the battery at 20–25°C. Do not store it above 50°C — that can cause irreversible capacity loss.
- If the bicycle will not be used for a long time (winter, summer, or other long pauses), take the battery out, store it separately, and charge it regularly. Otherwise it may run flat and be permanently damaged.
- The best storage level is about 50%. Storing below 10% or above 90% for a long time will reduce capacity permanently.
13
Pattern Description
The key is on, the display is on, and the throttle is twisted. The bicycle is driven by electricity.
The key is on and the display is on. Assist starts when you pedal and is driven by both human power and the motor.
Ride the bicycle by human power only, as a conventional bike.
- In pedal-assist mode, assist starts when you press the pedal forward and stops when you stop pedaling. Braking also stops assist so the e-bike can slow and stop. When you reach the maximum speed of the selected gear, assist turns itself off.
13
Motor Description
When the electric bicycle starts, the drive motor draws a large current. You may hear friction / magnetic noise as the motor overcomes resistance. This is normal. A larger starting current makes the noise more obvious and does not affect use.
Start slowly. A smaller starting current means less wheel noise and is better for battery life.
14
Warning Matters
Warning
- Do not put the battery into fire. Do not overheat the battery.
- Do not use another brand of charger. Use only the specified charger.
- Do not disassemble or modify the battery.
- Do not connect the positive and negative electrodes, or touch terminals with metal objects.
- Do not subject the charger to shocks such as dropping. Keep the charger away from water.
- Do not let your skin stay in contact with the charger for a long time. The charger may reach 40–60°C (104–140°F) and can burn skin.
- Do not cover the charger or place objects on it — this can cause overheating and fire.
- Do not turn the pedals while the battery is on the bicycle and charging. Keep the power cord off the pedal and crank. A wound cord can damage the plug and cause electric shock or fire.
Energy consumption
- Fully charge the battery before a long-distance trip. Rough roads and hills use more energy.
- Carrying more weight uses more energy.
- Low temperature reduces the cruising range.
- With the battery turned off, the e-bike can be used as an ordinary bicycle.
14
After-sales Service
| Warranty name | Service term | Warranty coverage (except human factors) |
|---|---|---|
| Battery | 12 months | Inspected capacity is less than 2/3 of the specified capacity, or an inspected quality problem |
| Motor | 12 months | Performance failure |
| Controller | 12 months | Performance failure |
| Instrument | 12 months | Performance failure |
| Charger | 180 days | Performance failure |
| Frame | 12 months | Desoldering, material fracture |
| Front fork | 180 days | Performance failure |
Not covered by warranty
- The warranty period has expired.
- Commercial leases are not covered.
- Perishable / consumable parts are not covered.
- Damage from unauthorized modification, dismantling, or replacement of accessories is not covered.
- Damage from misuse, collision, injury, water ingress, or overloading is not covered.
- Factory-batch changes or accessory upgrades may be made without prior notice.
15
-
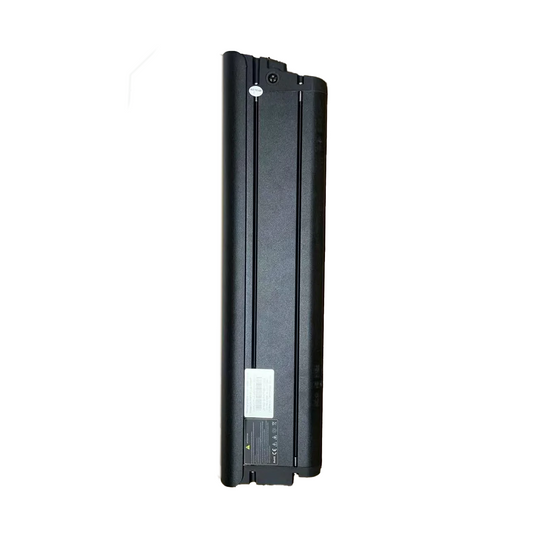
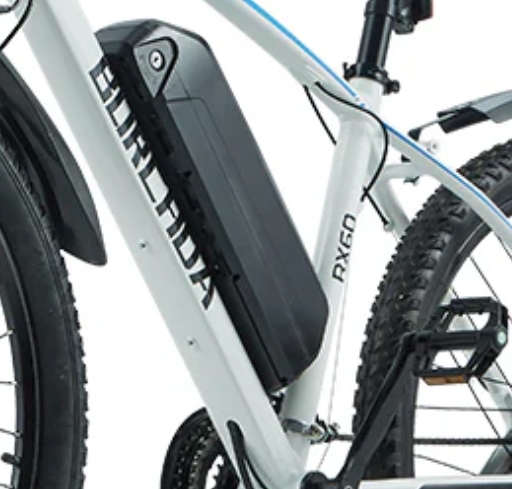
48V31.5Ah Original Battery for Burchda U8
Regular price €549,00 EURRegular priceUnit price per€589,00 EURSale price €549,00 EURSafe & Secure Payments


 Sale
Sale -
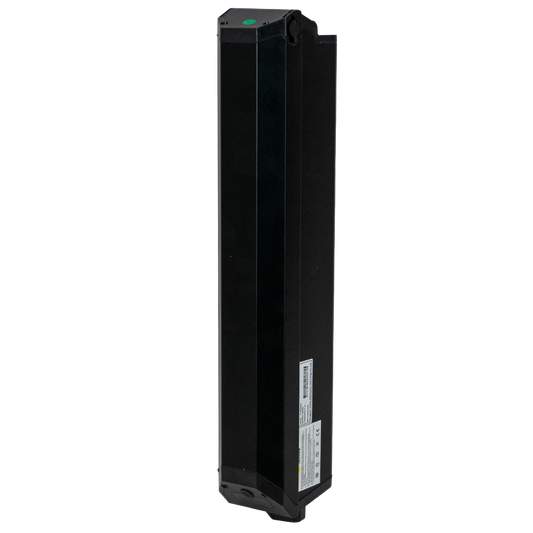
48V30Ah Original Battery for Burchda HC26
Regular price €499,00 EURRegular priceUnit price per€559,00 EURSale price €499,00 EURSafe & Secure Payments
Sale -
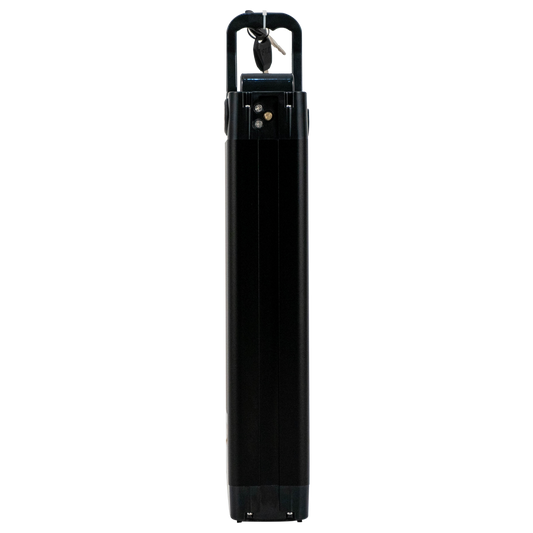
48V 17.5Ah Original Battery for Burchda RX90
Regular price €429,00 EURRegular priceUnit price per€499,00 EURSale price €429,00 EURSafe & Secure Payments
Sale -
Original Battery for Burchda RX80/RX50/AZ20
Regular price €419,00 EURRegular priceUnit price per€459,00 EURSale price €419,00 EURSafe & Secure Payments
Sale -
48V20Ah Original Battery for Burchda R5Pro
Regular price €409,00 EURRegular priceUnit price per€449,00 EURSale price €409,00 EURSafe & Secure Payments
Sale -
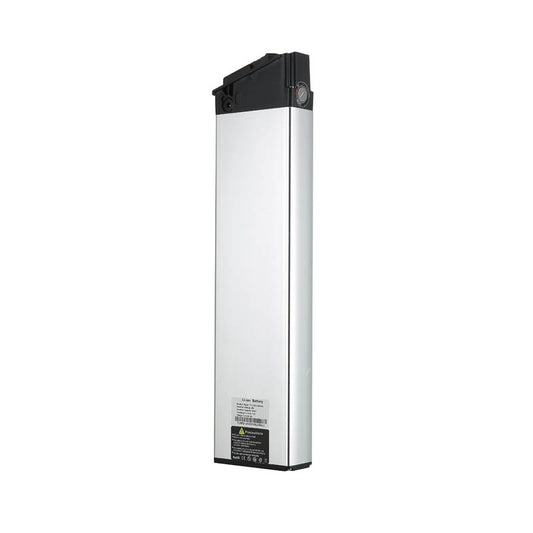
48V 20Ah Battery for Burchda AZ26
Regular price €399,00 EURRegular priceUnit price per€449,00 EURSale price €399,00 EURSafe & Secure Payments
Sale -
48V20Ah Original Battery for Burchda RX70/RX20
Regular price €399,00 EURRegular priceUnit price per€459,00 EURSale price €399,00 EURSafe & Secure Payments
Sale -
Original Battery For Burchda R8/R8S/R8SPro/R8Pro
Regular price From €359,00 EURRegular priceUnit price per€379,00 EURSale price From €359,00 EURSafe & Secure Payments
Sale -
48V15Ah Original Battery for Burchda RX02/H1
Regular price €339,00 EURRegular priceUnit price per -
Original Battery for Burchda R3 PRO/R3
Regular price From €339,00 EURRegular priceUnit price per€329,00 EURSale price From €339,00 EURSafe & Secure Payments
-
48V15Ah Original Battery for Burchda RX60
Regular price €299,00 EURRegular priceUnit price per€329,00 EURSale price €299,00 EURSafe & Secure Payments
Sale -
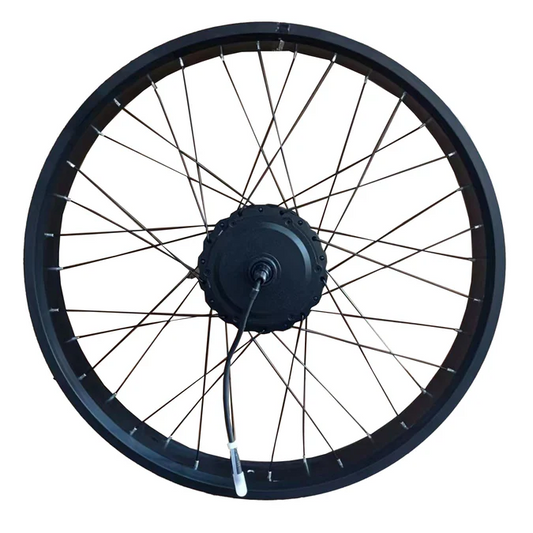
Original Rear Wheel Set (With Motor) For Burchda E-bike
Regular price From €249,00 EURRegular priceUnit price per -
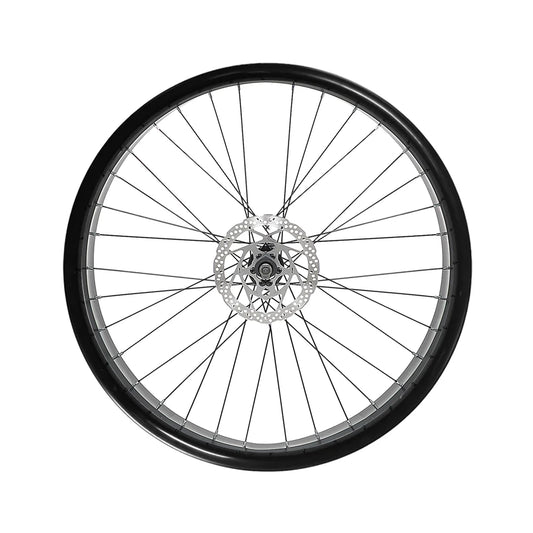
Original Front Wheel Set For Burchda E-bike
Regular price From €239,00 EURRegular priceUnit price per€229,00 EURSale price From €239,00 EURSafe & Secure Payments
-
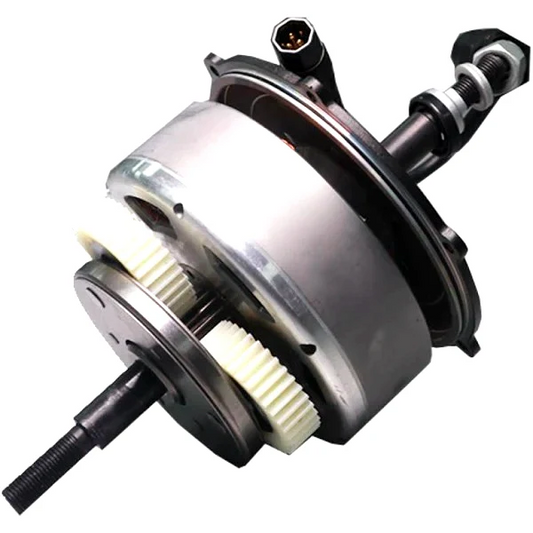
Original Motor Core for Burchda E-bikes
Regular price From €199,00 EURRegular priceUnit price per€299,00 EURSale price From €199,00 EURSafe & Secure Payments
Sale -
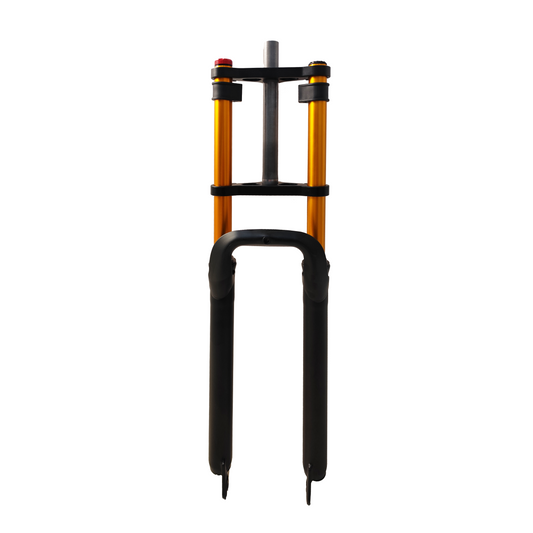
Front Fork Shock Absorber For Burchda E-bikes
Regular price From €159,00 EURRegular priceUnit price per€169,00 EURSale price From €159,00 EURSafe & Secure Payments
Sale -
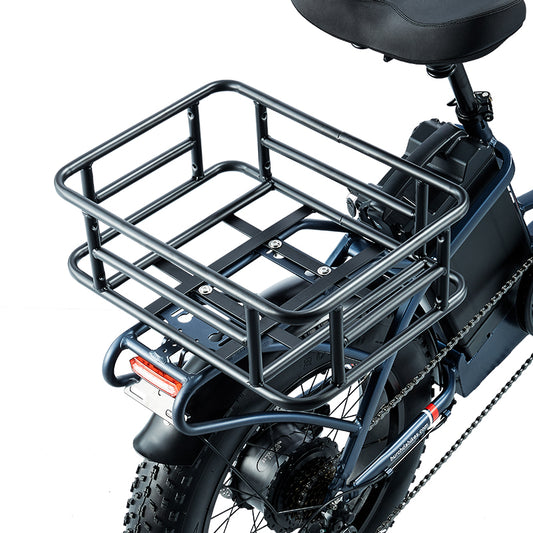
Rear Storage Basket for BURCHDA E-bikes
Regular price €129,00 EURRegular priceUnit price per€119,00 EURSale price €129,00 EURSafe & Secure Payments
-
Original Lower Fork for Burchda E-bikes
Regular price €119,00 EURRegular priceUnit price per€129,00 EURSale price €119,00 EURSafe & Secure Payments
Sale -
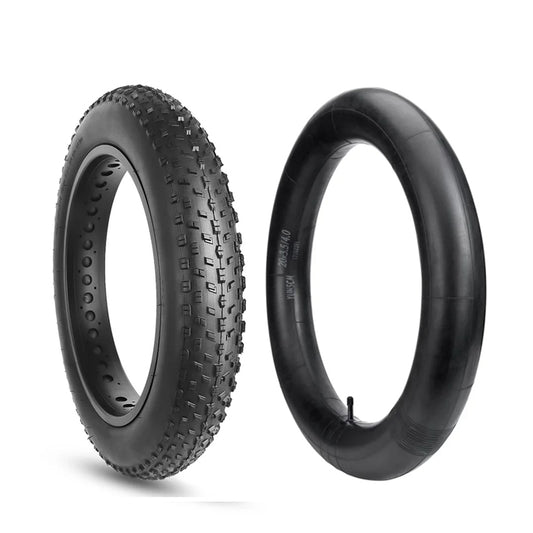
Burchda electric bike original inner and outer tires
Regular price €109,00 EURRegular priceUnit price per -
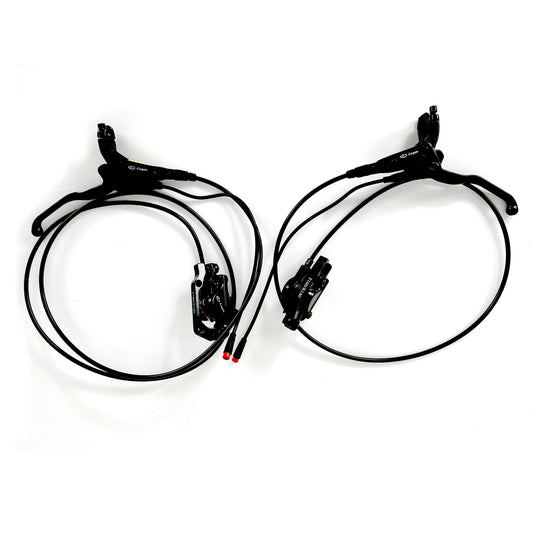
Original Hydraulic Brake / Mechanical Brake System For Burchda E-bikes
Regular price €109,00 EURRegular priceUnit price per -
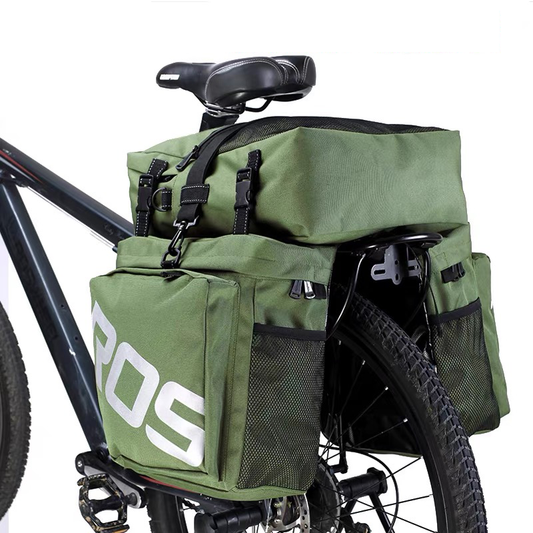
3 In 1 Trunk Bags Double Side for BURCHDA E-bike
Regular price €109,00 EURRegular priceUnit price per€119,00 EURSale price €109,00 EURSafe & Secure Payments
Sale -
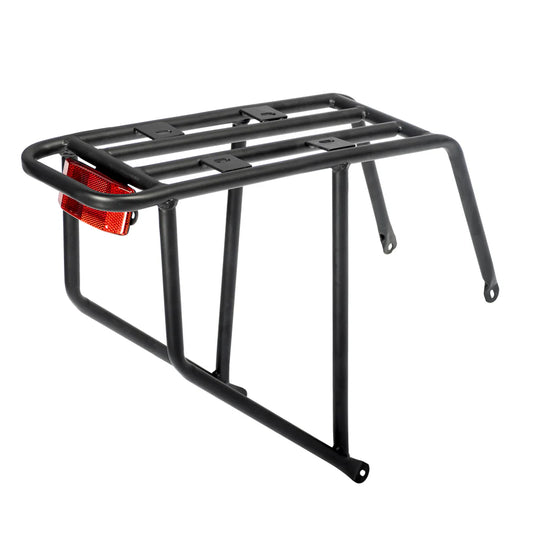
Original rear rack for Burchda E-bikes
Regular price €99,00 EURRegular priceUnit price per -
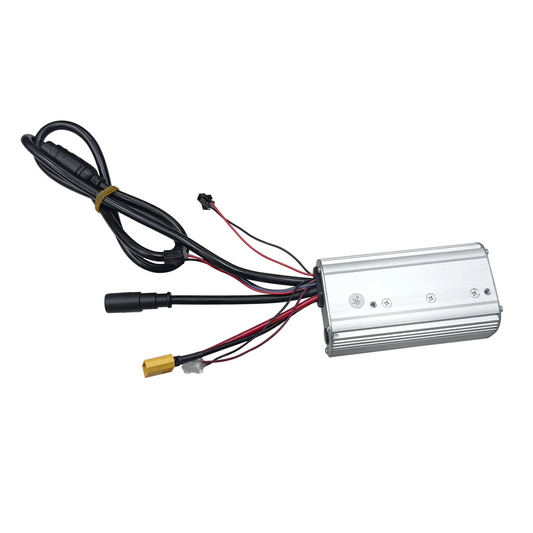
Original Controller for Burchda Electric Bikes
Regular price €99,00 EURRegular priceUnit price per€119,00 EURSale price €99,00 EURSafe & Secure Payments
Sale -
Original S2 LCD Display(include Button) For BURCHDA E-bike
Regular price €89,00 EURRegular priceUnit price per€139,00 EURSale price €89,00 EURSafe & Secure Payments
Sale -
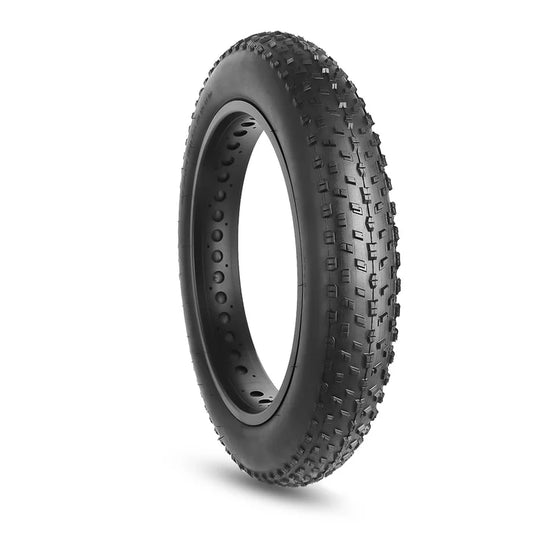
Original Outer Tires for Burchda E-Bike
Regular price €89,00 EURRegular priceUnit price per -
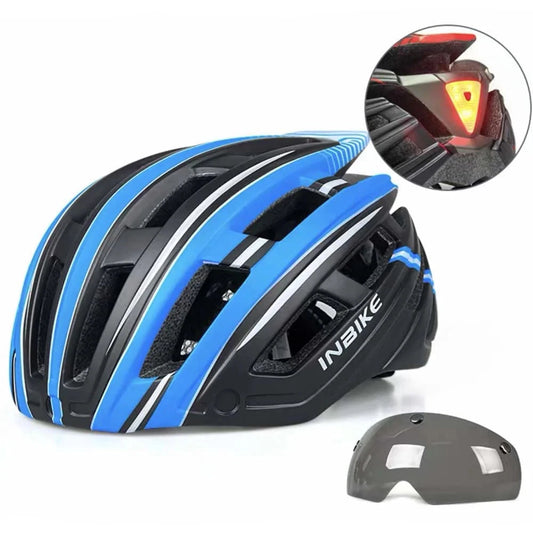
Helmet with Lighted Goggles and LED Light
Regular price €89,00 EURRegular priceUnit price per







-
 €550OFF
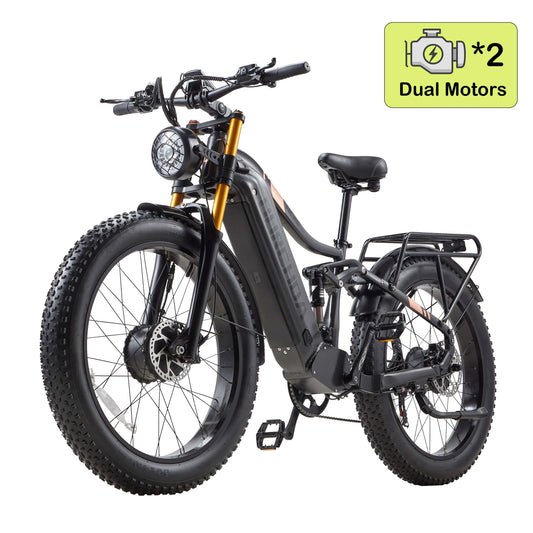
Burchda HC26 AWD
2500W Dual Motor 48V30AH Large Capacity Battery Fat Tire Off-Road E-Bike
Regular price From €1.699,00 EURRegular priceUnit price per€2.249,00 EURSale price From €1.699,00 EUR 2500W Motor
 48V30Ah Battery
 100KM Range
 50KM/h SpeedSafe & Secure Payments
Sale
50KM/h SpeedSafe & Secure Payments
Sale -
Burchda R5 Pro Max AWD(2026 Upgraded)
2026 Upgraded R5 Pro Max Dual Motor 2000W 30Ah Hydraulic Brakes Foldable All Terrain Mountain E-bike
Regular price From €1.599,00 EURRegular priceUnit price per€1.799,00 EURSale price From €1.599,00 EUR
2000W Motor
48V30Ah Battery
100KM Range
50KM/h SpeedSafe & Secure Payments
Sale -
 €350OFF
Burchda B27(2026 New Arrival)
Burchda 2026 New Arrival Torque Sensor All-Aluminum E-bike, 1000W Powerful Motor, 20Ah Removable Battery, Front+Rear Shock, KING-METER LCD Display.
Regular price From €1.549,00 EURRegular priceUnit price per€1.899,00 EURSale price From €1.549,00 EUR
250W/1000W Motor
48V20Ah Battery
80KM Range
45KM/h SpeedSafe & Secure Payments
Sale -
 €500OFF
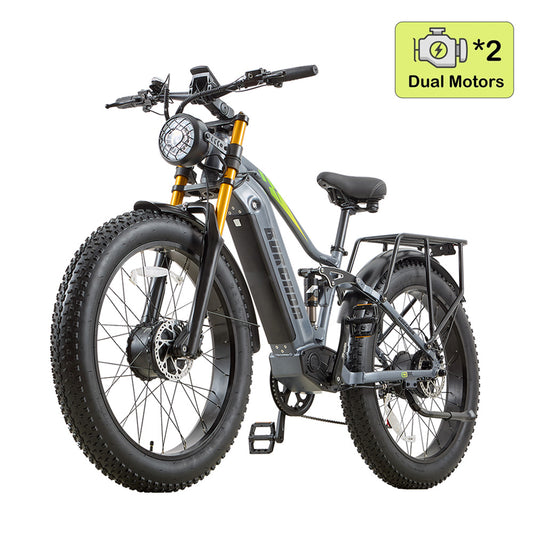
Burchda RX80 AWD(Upgraded)
48V 20Ah 2000W Dual Motor Off-road Full Suspension Fat Tire E-bike
Regular price From €1.199,00 EURRegular priceUnit price per€1.699,00 EURSale price From €1.199,00 EUR
2000W Motor
48V20Ah Battery
65KM Range
50KM/h SpeedSafe & Secure Payments
Sale -
 €350OFF
Burchda U8 Pro(2026 Upgraded)
2026 Upgraded Hydraulic Brake + Integrated Wheel, 1000W 31.5Ah Long Range City Commuting E-bike
Regular price From €1.299,00 EURRegular priceUnit price per€1.649,00 EURSale price From €1.299,00 EUR
250W/1000W Motor
48V31.5Ah Battery
100KM Range
45KM/h SpeedSafe & Secure Payments
Sale -
 €360OFF
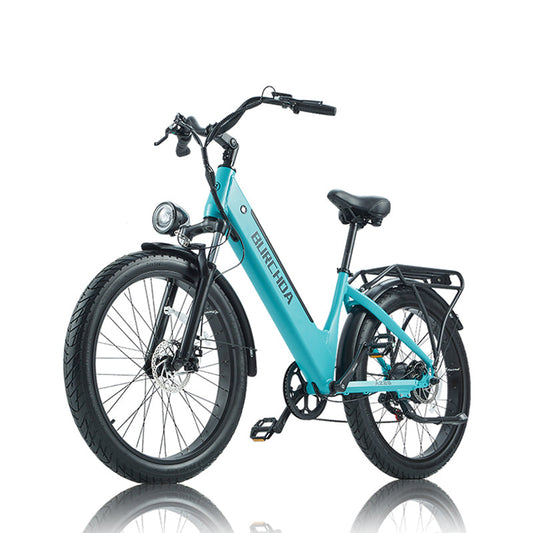
Burchda AZ26(2026 Upgraded)
Powerful Long Range 20Ah Removable Battery Throttle Road Legal Commuter Ebike (2026 Upgraded Hydraulic Brakes)
Regular price From €1.039,00 EURRegular priceUnit price per€1.399,00 EURSale price From €1.039,00 EUR
250W/1000W Motor
48V20Ah Battery
65KM Range
45KM/h SpeedSafe & Secure Payments
Sale -
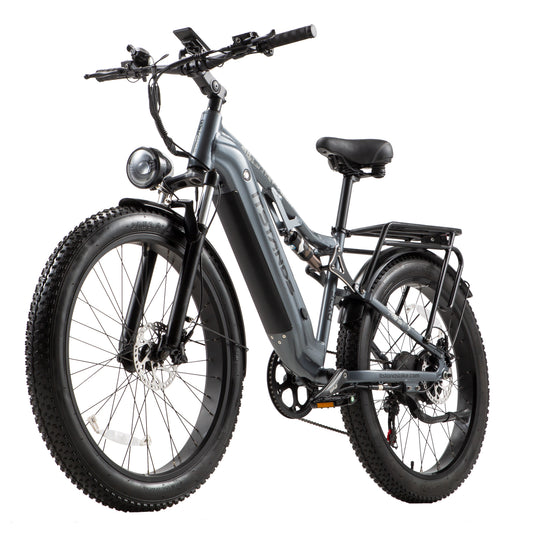 €400OFF
Burchda RX26(2026 New Arrival)
2026 New Arrival Full Suspension Mountain Electric Bike
Regular price €1.149,00 EURRegular priceUnit price per€1.549,00 EURSale price €1.149,00 EUR
250W/1000W Motor
48V20Ah Battery
65KM Range
45KM/h SpeedSafe & Secure Payments
Sale -
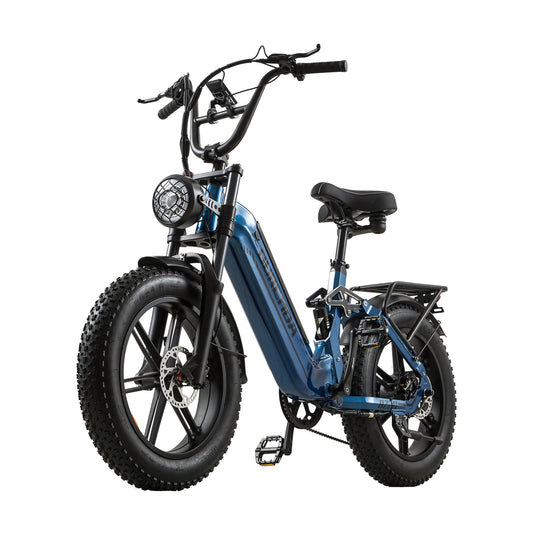 €220OFF
Burchda AZ20
48V20Ah Long Range Powerful Dual Suspension Hydraulic Brake Fashion Step-thru City E-bike
Regular price From €1.229,00 EURRegular priceUnit price per€1.449,00 EURSale price From €1.229,00 EUR
250W/1000W Motor
48V20Ah Battery
65KM Range
45KM/h SpeedSafe & Secure Payments
Sale -
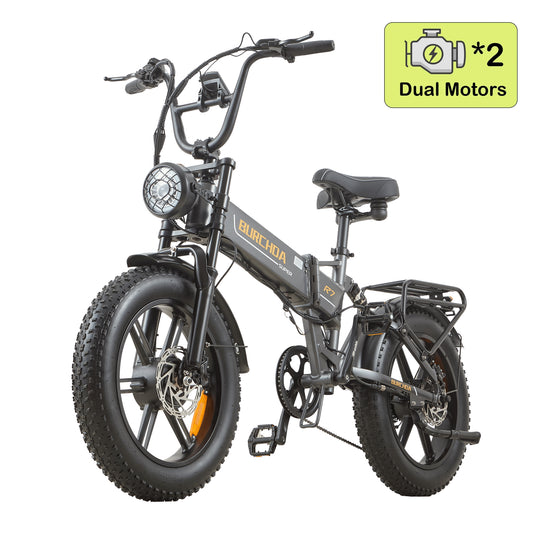 €350OFF
Burchda R7 Pro Dual Motor
2025 New Arrival R7 Pro Dual Motor 2000W E-Bike
Regular price From €1.049,00 EURRegular priceUnit price per€1.399,00 EURSale price From €1.049,00 EUR
2000W Motor
48V20Ah Battery
65KM Range
45KM/h SpeedSafe & Secure Payments
Sale -
 €150OFF
Burchda R3 (2026 Upgraded)
Aluminum Alloy Frame Foldable City Commuter E-bike with Dual Shock Suspension and 2026 Upgraded Hydraulic brakes
Regular price From €849,00 EURRegular priceUnit price per€999,00 EURSale price From €849,00 EUR
250W/800W Motor
48V12.8Ah Battery
45KM Range
40KM/h SpeedSafe & Secure Payments
Sale -
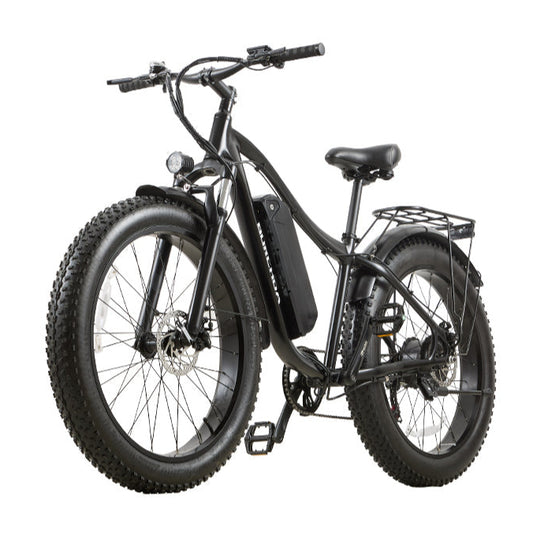 €240OFF
Burchda RX02
48V15Ah Fat-Tire Powerful All Terrain Mountain Ebike
Regular price From €849,00 EURRegular priceUnit price per€1.089,00 EURSale price From €849,00 EUR
250W/1000W Motor
48V15Ah Battery
60KM Range
45KM/h SpeedSafe & Secure Payments
Sale -
[Pre-Sale] Burchda RX20(2026 Upgraded)
1000W 48V 20Ah All Terrain Fat Tire E-bike
Regular price €1.029,00 EURRegular priceUnit price per€1.289,00 EURSale price €1.029,00 EUR
250W/1000W Motor
48V20Ah Battery
65KM Range
45KM/h SpeedSafe & Secure Payments
Sale -
 €500OFF
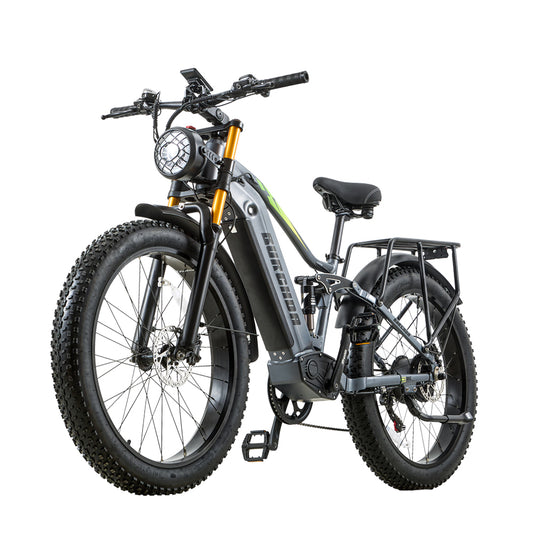
Burchda RX80(Upgraded)
1500W 20Ah Off-road Full Suspension Fat Tire E-bike
Regular price From €1.199,00 EURRegular priceUnit price per€1.699,00 EURSale price From €1.199,00 EUR
1500W Motor
48V20Ah Battery
65KM Range
45KM/h SpeedSafe & Secure Payments
Sale -
 €300OFF
Burchda R7 Pro (2026 Upgraded)
1000W Motor 48V20AH Battery Foldable Fat Tire E-bike
Regular price €1.049,00 EURRegular priceUnit price per€1.349,00 EURSale price €1.049,00 EUR
1000W Motor
48V20Ah Battery
55KM Range
45KM/h SpeedSafe & Secure Payments
Sale -
 €290OFF
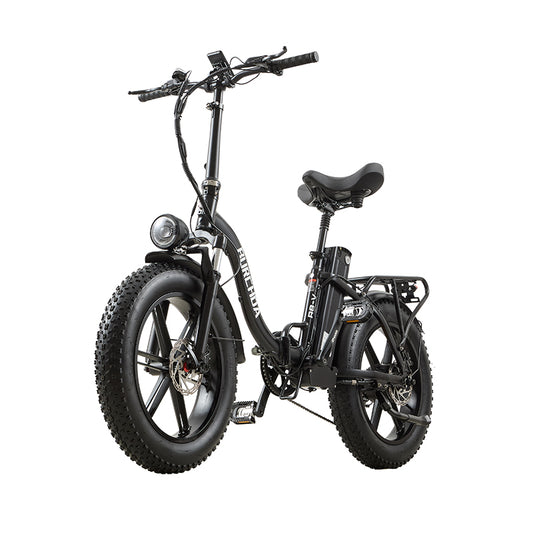
Burchda R8S Pro / R8V
Powerful Large Capacity Battery 48V20Ah Step Thru City Commuter Foldable E-bike with Hydraulic brake and Dual Suspension
Regular price From €999,00 EURRegular priceUnit price per€1.289,00 EURSale price From €999,00 EUR
250W/1000W Motor
48V20Ah Battery
65KM Range
40KM/h SpeedSafe & Secure Payments
Sale -
 €650OFF
Burchda X27(2026 New Arrival)
750W 17.5Ah Removable Battery Throttle Road Legal Commuter Ebike (New arrival)
Regular price €799,00 EURRegular priceUnit price per€1.449,00 EURSale price €799,00 EUR
750W Motor
48V17.5Ah Battery
60KM Range
40KM/h SpeedSafe & Secure Payments
Sale


