BURCHDA E-Bike Display User Manual - KING METER VA35

USERS GUIDE
VA35 LCD
Table of Contents
- 1 -
1. Dimensions
1.1 Material and color
VA35 product housing is made of black PC and tempered glass material, and the color is black matte. The material of the housing is allowed to be used normally at the temperature of -20 ℃ to 60 ℃, and good mechanical properties can be guaranteed.


2. Function overview and button definitions
2.1 Function description
VA35 provides you with a variety of functions and displays to meet your riding needs:
- Battery capacity
- Speed
- Distance (including trip and ODO)
- Walk assistance display
- Backlight
- Error code
- Multiple setting parameter
- 2 -
2.2 Normal Display area

2.3 Button definition
The VA35 instrument has five buttons. In the subsequent instructions, the buttons are replaced by the following text labels:
 [POWER]
 [MODE]
 [SET]
[SET]
 [DOWN]
 [UP]
[UP]
 [HEADLIGHT]
3. User reminder

Pay attention to safety during use. Do not plug and unplug the display when it is powered on. Avoid bumping the display as much as possible.
- 3 -

The film used for the display is a waterproof film. Please do not tear it off to avoid affecting the waterproof performance of the display.

Please do not change the background parameter setting of the display at will, otherwise the normal riding cannot be guaranteed.

When the display cannot be used normally, it shall be sent for repair as soon as possible.
4. Installation instructions
Fix the display on the handlebar and adjust the appropriate angle of view. When the e-bike is powered off, the display can be completed by inserting the connector of the display and the connector corresponding to the controller.
5. Operation introduction
5.1 Power on/off
After hold the [POWER] button, the display starts to work and provides the working power supply of the controller. In the power on state, hold the [POWER] button to turn off the power supply of the e-bike. In the power off state, the display no longer uses the power supply of the battery, and the leakage current of the display is less than 1uA.
If the e-bike is not used for more than 10 minutes, the display will power off automatically.
5.2 User interface
The normal interface can be displayed after power on. The interface can display the real-time power value of the electric bike, the real-time speed, the mileage of a single ride (TRIP), the total mileage (ODO), the power assist level (PAS), and the short press [POWER] can switch to the average speed, maximum speed, single trip time (TRIP TIME), single trip (TRIP).
- 4 -


5.3 Walk assistance
Long press [DOWN] for 2 seconds, E-bike would enter the state of walking assistance. The E-bike travels at a constant speed of 6 km/h.

The walk assist mode function can only be used when the user pushes the e-bike. Do not use it when riding.
- 5 -
5.4 Headlight On/Off
Short press the [HEADLIGHT] button to display the interface as shown, and the icon appears, indicating that the lights have been turned on. Short press the [HEADLIGHT] button again to turn off the lights.

5.5 PAS level selection
Short press the [UP] or [DOWN] button to switch the power assist level of the E-bike and change the output power of the motor, and the default output PAS level range of the display is 0-5.
5.6 Battery indicator
There are a total of five levels of power in the display. When it is fully charged, the white grid is full.


- 6 -
5.7 Single Trip Clearance
In the state of no speed, in the TRIP interface, long press [MODE] and [DOWN] button the single mileage (trip) will be cleared to zero, and the single mileage time (trip time) will be cleared to zero as well.
5.8 Error code
When the e-bike electronic control system fails, the display will automatically display ERROR code. For the definition of the detailed error code, see Appendix 1.

Only when the fault is eliminated, can exit the fault display interface, the e-bike will not continue to run after the fault occurs.
- 7 -
6. Power-on password setup, usage, and modification

7. Preparation Before Startup
To enter the password: While powered on and at zero speed, press and hold the [SET] button for 3 seconds to enter the settings interface. In the settings menu, press and hold [UP] + [MODE] simultaneously to access the power-on password interface. The default password is 1212.
Use the [UP] and [DOWN] buttons to select whether to enable the password feature: "n" indicates password disabled, "y" indicates password enabled. After selecting to enable, briefly press [SET] to confirm and enter the password modification interface.
Use the [UP] and [DOWN] buttons to increase/decrease the numerical values for the new password. After modification, press and hold [SET] to save and confirm, then exit the settings interface. To re-enter the password interface, you will need to input the newly modified password.

Please read the instruction carefully before using the display.
8. FAQ
Q: Why can't turn on the display?
A: Please check whether the battery is turned on or the leakage lead wire is broken.
Q: How to deal with the error code display?
A: Contact the e-bike maintenance station in time.
- 8 -
9. Quality Assurance and Warranty Scope
I. Warranty Information:
- King-Meter will be responsible for all faults arising during normal operation that are caused by a quality defect.
- The warranty time is 24 months from the day the display leaves the factory.
II. The following are not covered by warranty:
- Shell opened.
- Connector damaged.
- After display out of factory, the shell is scratched or damaged.
- Lead wire of display scratch or break.
- The fault or damage is caused by the force majeure (such as fire, earthquake, etc.) or natural disasters (such as lighting, flooding, etc.).
- Product exceeded warranty period.
10. Version
The instruction manual of this display is the operation manual of the general software version (version 1.0) of Tianjin King-Meter Technology Co., Ltd. The version of the display software used on some vehicles may be slightly different from this manual, and the actual version used shall prevail.
Appendix 1:Error Code Definition
| Code | Definition |
|---|---|
| 0x21 | Controller Fault |
| 0x22 | Throttle Abnormal |
| 0x23 | Motor Phase Loss |
| 0x24 | Motor Hall Sensor Abnormal |
| 0x25 | Under-Voltage Protection |
| 0x30 | Communication Fault Alarm |
| 0x31 | Power Button Stuck Fault Alarm |
| 0x34 | 6KM Function Button Stuck Fault Alarm |
-
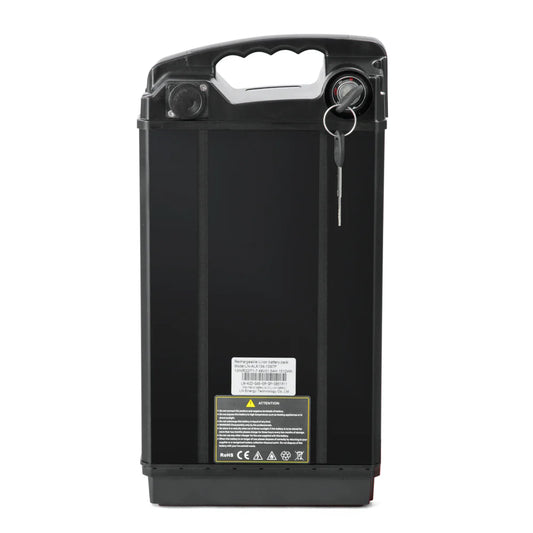
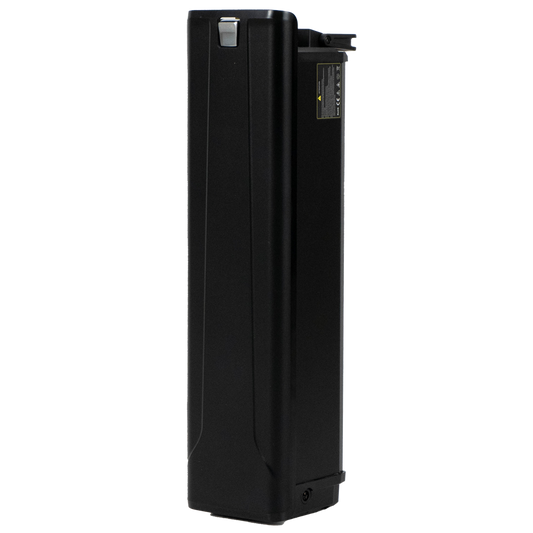
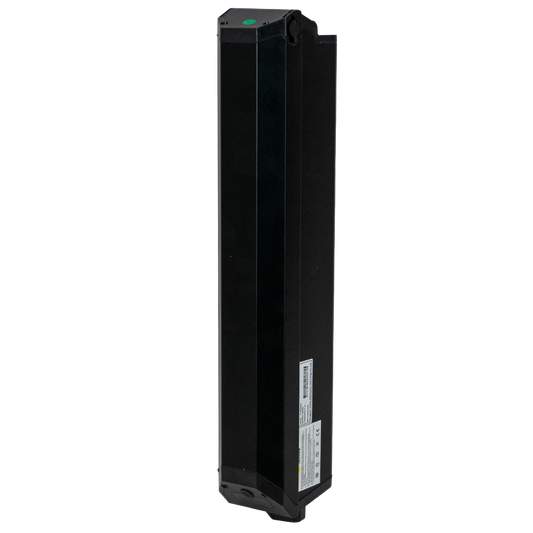
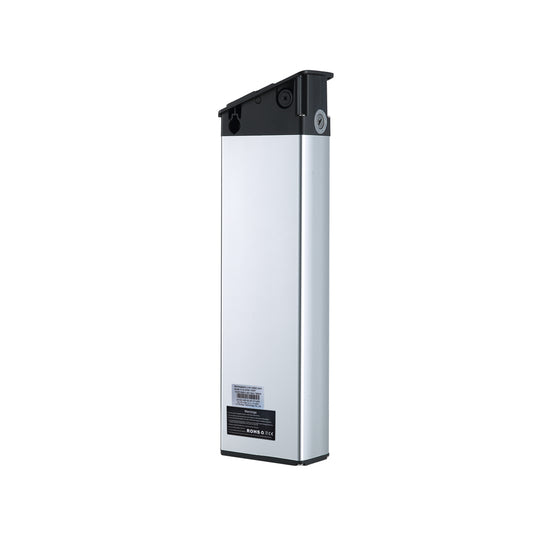
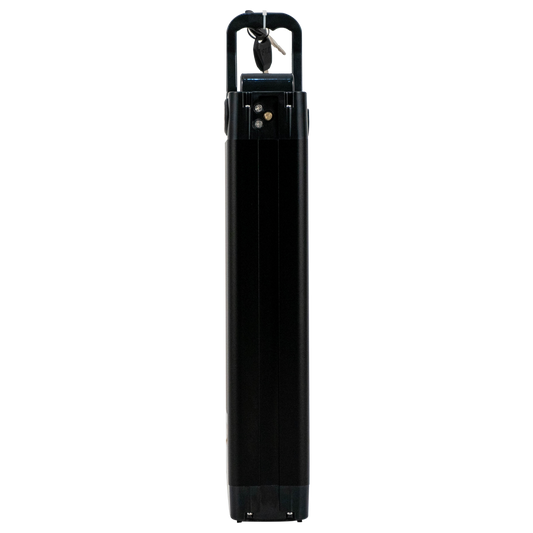
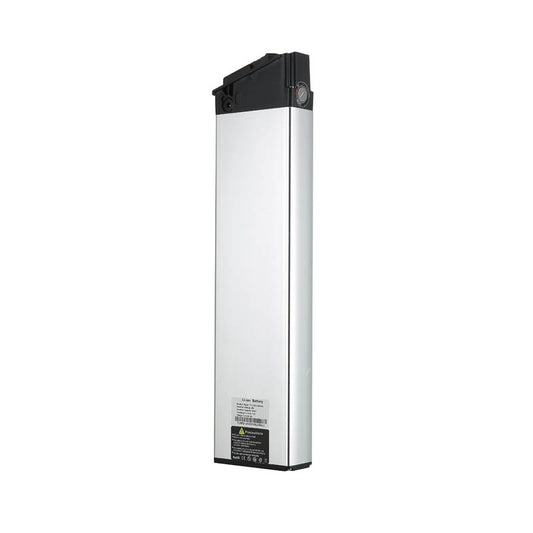
Batterie d'origine 48V31,5Ah pour Burchda U8
Prix habituel €549,00 EURPrix habituelPrix unitaire par€589,00 EURPrix promotionnel €549,00 EURSafe & Secure Payments


 En vente
 -
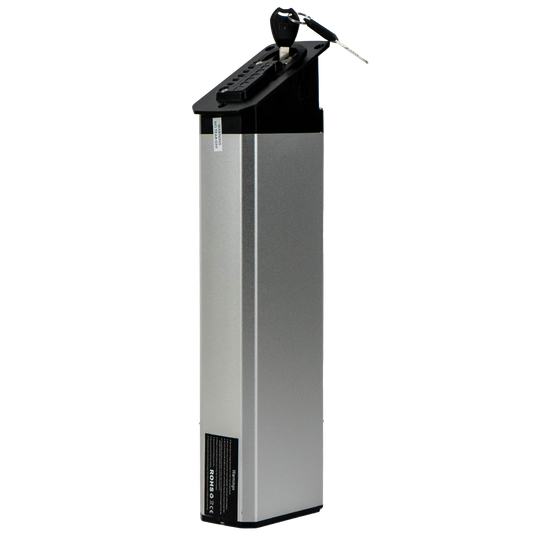
Batterie d'origine 48V30Ah pour Burchda HC26
Prix habituel €499,00 EURPrix habituelPrix unitaire par€559,00 EURPrix promotionnel €499,00 EURSafe & Secure Payments
En vente -
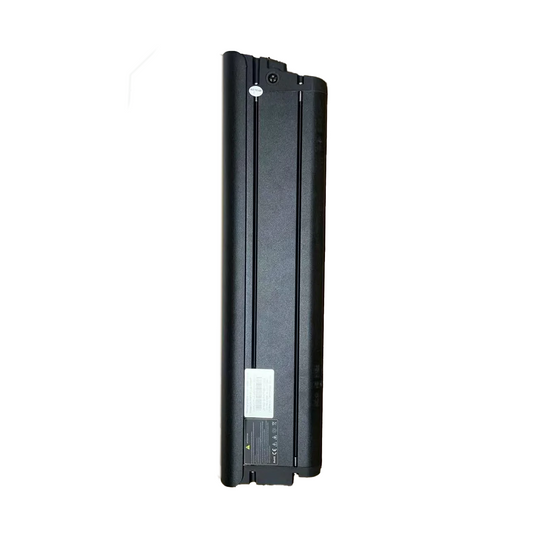
Batterie d'origine 48 V 17,5 Ah pour Burchda RX90
Prix habituel €429,00 EURPrix habituelPrix unitaire par€499,00 EURPrix promotionnel €429,00 EURSafe & Secure Payments
En vente -
Batterie d'origine pour Burchda RX80/RX50/AZ20
Prix habituel €419,00 EURPrix habituelPrix unitaire par€459,00 EURPrix promotionnel €419,00 EURSafe & Secure Payments
En vente -
Batterie d'origine 48 V 20 Ah pour Burchda R5Pro
Prix habituel €409,00 EURPrix habituelPrix unitaire par€449,00 EURPrix promotionnel €409,00 EURSafe & Secure Payments
En vente -
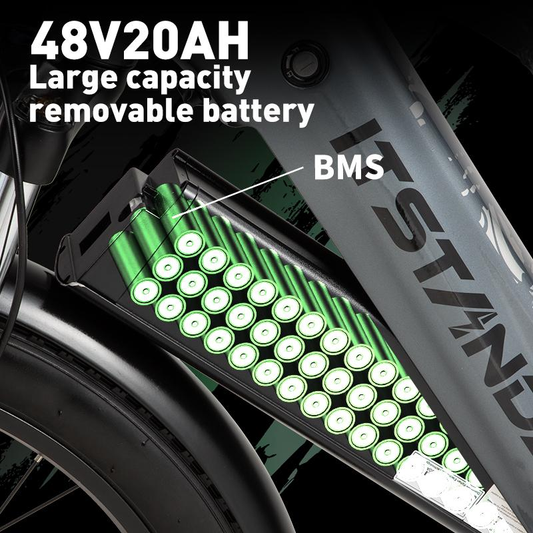
Batterie 48 V 20 Ah pour Burchda AZ26
Prix habituel €399,00 EURPrix habituelPrix unitaire par€449,00 EURPrix promotionnel €399,00 EURSafe & Secure Payments
En vente -
Batterie d'origine 48V20Ah pour Burchda RX70/RX20
Prix habituel €399,00 EURPrix habituelPrix unitaire par€459,00 EURPrix promotionnel €399,00 EURSafe & Secure Payments
En vente -
Batterie d'origine 48 V 20 Ah pour Burchda Itsands RX26
Prix habituel €389,00 EURPrix habituelPrix unitaire par -
Batterie 48V17.5Ah/48V20Ah pour Burchda /Jinghma R7 Pro
Prix habituel Du €389,00 EURPrix habituelPrix unitaire par -
Batterie d'origine pour Burchda R8/R8S/R8SPro/R8Pro
Prix habituel Du €359,00 EURPrix habituelPrix unitaire par€379,00 EURPrix promotionnel Du €359,00 EURSafe & Secure Payments
En vente -
Batterie d'origine 48V15Ah pour Burchda RX02/H1
Prix habituel €339,00 EURPrix habituelPrix unitaire par -
Batterie d'origine pour Burchda R3 PRO/R3
Prix habituel Du €339,00 EURPrix habituelPrix unitaire par€329,00 EURPrix promotionnel Du €339,00 EURSafe & Secure Payments
-
Batterie d'origine 48 V 15 Ah pour Burchda RX60
Prix habituel €299,00 EURPrix habituelPrix unitaire par€329,00 EURPrix promotionnel €299,00 EURSafe & Secure Payments
En vente -
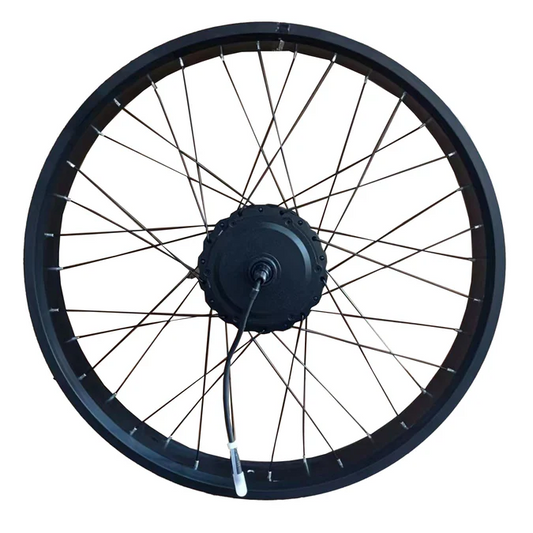
Ensemble de roues arrière d'origine (avec moteur) pour vélo électrique Burchda
Prix habituel Du €249,00 EURPrix habituelPrix unitaire par -
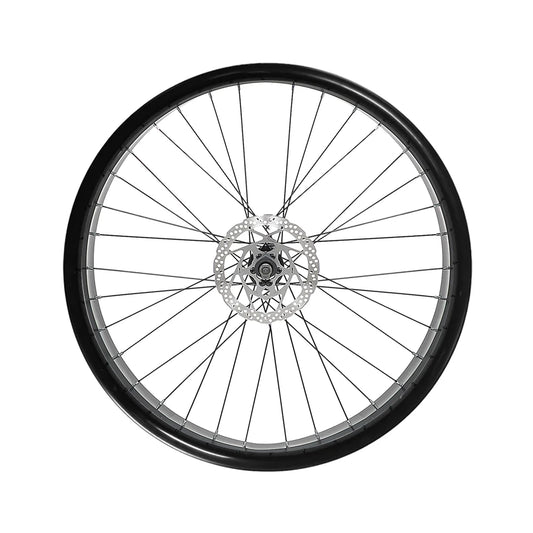
Jeu de roues avant d'origine pour vélo électrique Burchda
Prix habituel Du €239,00 EURPrix habituelPrix unitaire par€229,00 EURPrix promotionnel Du €239,00 EURSafe & Secure Payments
-
Ensemble de roues arrière d'origine (avec moteur) pour vélo électrique Burchda
Prix habituel €229,00 EURPrix habituelPrix unitaire par -

Noyau de moteur d'origine pour Burchda U8/ R5Pro/ RX90/ RX80/ RX70/ RX50/ R8s/ R8s PRO/ R8 PRO
Prix habituel Du €199,00 EURPrix habituelPrix unitaire par€299,00 EURPrix promotionnel Du €199,00 EURSafe & Secure Payments
En vente -
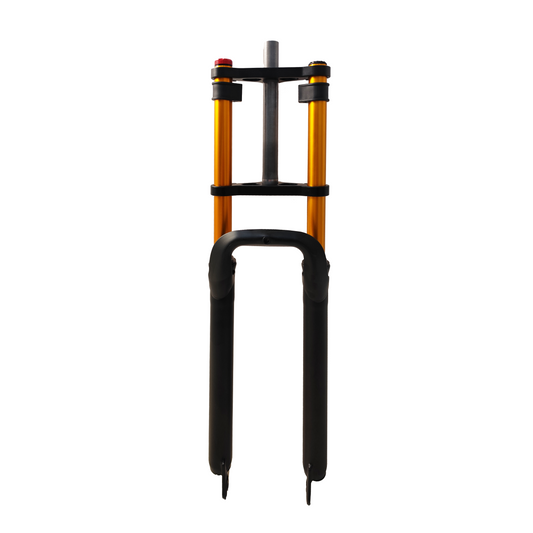
Amortisseur de fourche avant pour vélos électriques Burchda
Prix habituel Du €159,00 EURPrix habituelPrix unitaire par€169,00 EURPrix promotionnel Du €159,00 EURSafe & Secure Payments
En vente -
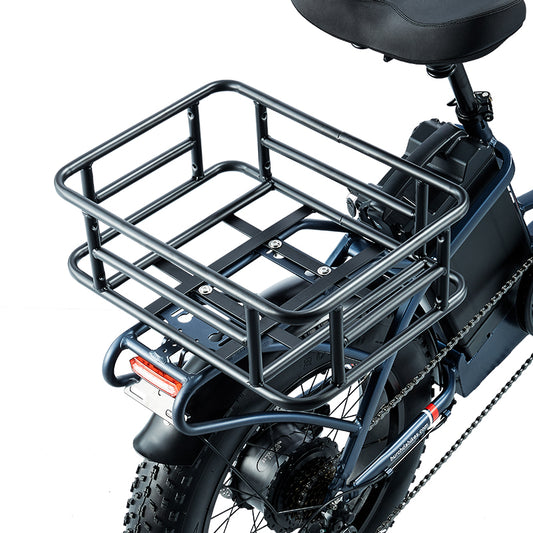
Panier de rangement arrière pour vélos électriques BURCHDA
Prix habituel €129,00 EURPrix habituelPrix unitaire par€119,00 EURPrix promotionnel €129,00 EURSafe & Secure Payments
-
Fourche inférieure d'origine pour vélos électriques Burchda
Prix habituel €119,00 EURPrix habituelPrix unitaire par€129,00 EURPrix promotionnel €119,00 EURSafe & Secure Payments
En vente -
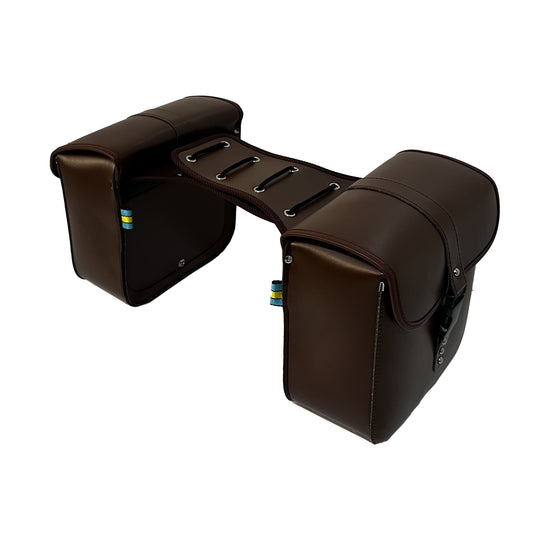
Sacoche de vélo électrique Burchda en cuir marron, sacoche de voyage durable pour vélo de montagne
Prix habituel €119,00 EURPrix habituelPrix unitaire par€109,00 EURPrix promotionnel €119,00 EURSafe & Secure Payments
Épuisé -
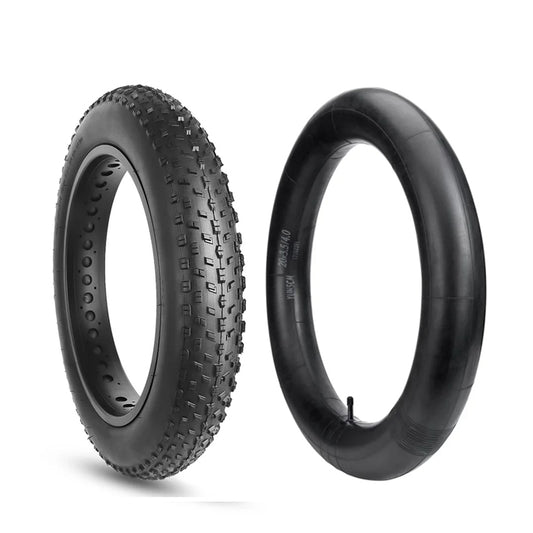
Pneus intérieurs et extérieurs d'origine pour vélo électrique Burchda
Prix habituel €109,00 EURPrix habituelPrix unitaire par -
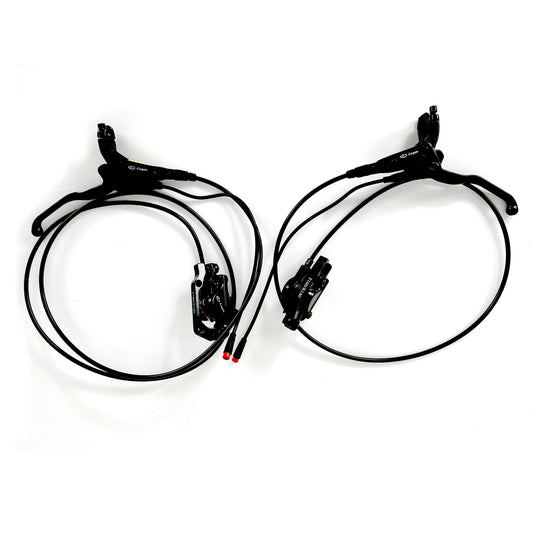
Système de freinage hydraulique/mécanique d'origine pour vélos électriques Burchda
Prix habituel €109,00 EURPrix habituelPrix unitaire par -
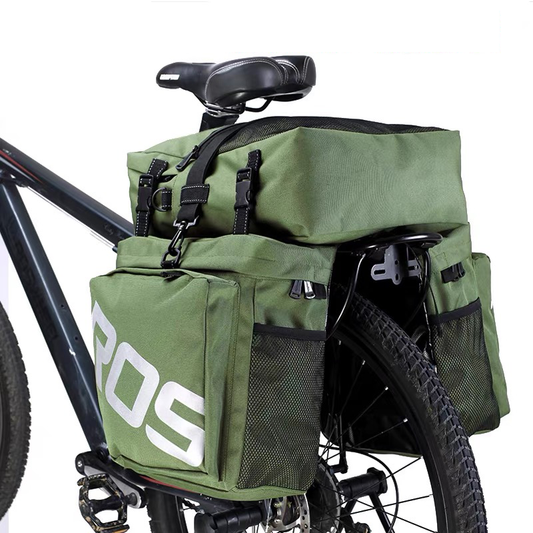
Sacs de coffre 3 en 1 double face pour vélo électrique BURCHDA
Prix habituel €109,00 EURPrix habituelPrix unitaire par€119,00 EURPrix promotionnel €109,00 EURSafe & Secure Payments
En vente -
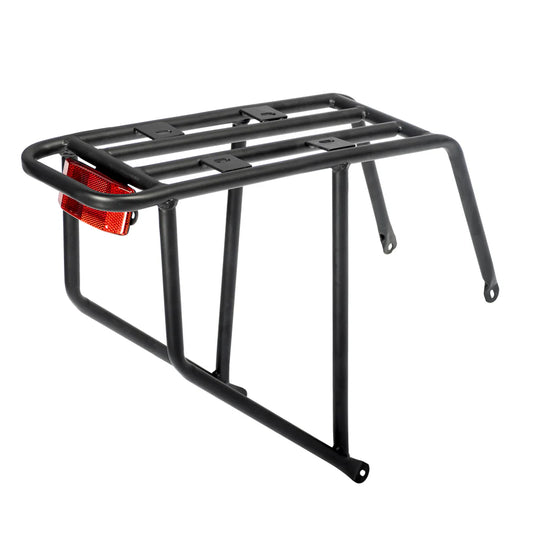
Porte-bagages arrière d'origine pour vélos électriques Burchda
Prix habituel €99,00 EURPrix habituelPrix unitaire par


-
 €200OFF
Burchda HC26 Intégrale
 2500 W Brush-Less Motor
 48V30Ah UL certification
 100 KM Max Electric Range
 50 km/h Max SpeedPrix habituel Du €1.599,00 EURPrix habituelPrix unitaire par
€1.799,00 EURPrix promotionnel Du €1.599,00 EURSafe & Secure Payments
En vente -
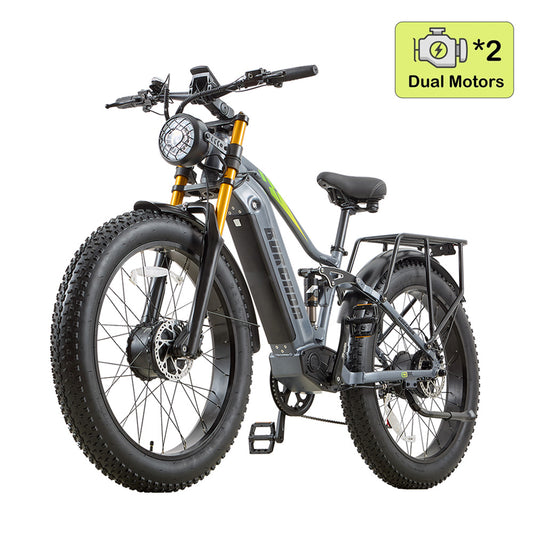
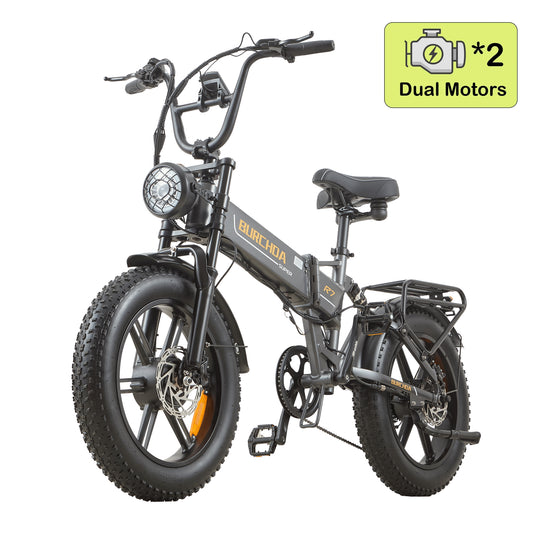
Burchda RX80 Double moteur (version améliorée)
2000W Brush-Less Motor
48V 20Ah UL certification
50 KM Max Electric Range
50 km/h Max SpeedPrix habituel Du €1.329,00 EURPrix habituelPrix unitaire par€1.699,00 EURPrix promotionnel Du €1.329,00 EURSafe & Secure Payments
En vente -
Burchda B27 (Nouveau capteur de couple 2026)
1000 W Brush-Less Motor
20 Ah UL certification
80 km Max Electric Range
45 KM/h Max SpeedPrix habituel Du €1.499,00 EURPrix habituelPrix unitaire par€1.899,00 EURPrix promotionnel Du €1.499,00 EURSafe & Secure Payments
En vente -
Burchda AZ26 (version améliorée 2026)
1000 W Brush-Less Motor
48V20Ah UL certification
65 KM Max Electric Range
45 KM/h Max SpeedPrix habituel Du €1.099,00 EURPrix habituelPrix unitaire par€1.299,00 EURPrix promotionnel Du €1.099,00 EURSafe & Secure Payments
En vente -
 €250OFF
Burchda AZ20 (nouveauté 2025)
1000 W Brush-Less Motor
48V20Ah UL certification
65 KM Max Electric Range
45 KM/h Max SpeedPrix habituel Du €1.199,00 EURPrix habituelPrix unitaire par€1.449,00 EURPrix promotionnel Du €1.199,00 EURSafe & Secure Payments
En vente -
 €350OFF
Burchda U8 (Mise à niveau 2026)
1000 W Brush-Less Motor
48V31.5Ah UL certification
100 KM Max Electric Range
45 KM/h Max SpeedPrix habituel Du €1.299,00 EURPrix habituelPrix unitaire par€1.649,00 EURPrix promotionnel Du €1.299,00 EURSafe & Secure Payments
En vente -
 €400OFF
Burchda RX26 (Nouveauté 2026)
1000 W Brush-Less Motor
48V20Ah UL certification
65 KM Max Electric Range
45 KM/h Max SpeedPrix habituel Du €1.149,00 EURPrix habituelPrix unitaire par€1.549,00 EURPrix promotionnel Du €1.149,00 EURSafe & Secure Payments
En vente -
 €570OFF
Burchda X27 (Nouvel arrivage 2026)
750 W Brush-Less Motor
48V 17,5Ah UL certification
60 km Max Electric Range
40 KM/h Max SpeedPrix habituel €1.029,00 EURPrix habituelPrix unitaire par€1.599,00 EURPrix promotionnel €1.029,00 EURSafe & Secure Payments
En vente -
 €300OFF
Burchda R7 Pro Bicylindre
2000W Brush-Less Motor
48V20Ah UL certification
65 KM Max Electric Range
45 KM/h Max SpeedPrix habituel Du €1.099,00 EURPrix habituelPrix unitaire par€1.399,00 EURPrix promotionnel Du €1.099,00 EURSafe & Secure Payments
En vente -
 €240OFF
Burchda RX02 (nouveauté 2025)
1000 W Brush-Less Motor
48V15Ah UL certification
60 km Max Electric Range
45 KM/h Max SpeedPrix habituel Du €849,00 EURPrix habituelPrix unitaire par€1.089,00 EURPrix promotionnel Du €849,00 EURSafe & Secure Payments
En vente -
Burchda RX20 (version 2026 améliorée)
1000 W Brush-Less Motor
48V20Ah UL certification
65 KM Max Electric Range
45 KM/h Max SpeedPrix habituel €1.039,00 EURPrix habituelPrix unitaire par€1.289,00 EURPrix promotionnel €1.039,00 EURSafe & Secure Payments
En vente -
 €370OFF
Burchda RX80 (mis à niveau)
1500 W Brush-Less Motor
48V20Ah UL certification
65 KM Max Electric Range
45 KM/h Max SpeedPrix habituel Du €1.329,00 EURPrix habituelPrix unitaire par€1.699,00 EURPrix promotionnel Du €1.329,00 EURSafe & Secure Payments
En vente -
 €250OFF
Burchda R7 Pro (mise à niveau 2026)
1000 W Brush-Less Motor
48V120Ah UL certification
55 km Max Electric Range
45 KM/h Max SpeedPrix habituel Du €1.099,00 EURPrix habituelPrix unitaire par€1.349,00 EURPrix promotionnel Du €1.099,00 EURSafe & Secure Payments
En vente -
 €190OFF
Burchda R8S Pro / R8V
1000 W Brush-Less Motor
48V20Ah UL certification
65 KM Max Electric Range
40 KM/h Max SpeedPrix habituel Du €1.099,00 EURPrix habituelPrix unitaire par€1.289,00 EURPrix promotionnel Du €1.099,00 EURSafe & Secure Payments
En vente -
Burchda R3 (Mise à niveau 2026)
800 W Brush-Less Motor
12,8 Ah UL certification
50 KM Max Electric Range
40 KM/h Max SpeedPrix habituel Du €849,00 EURPrix habituelPrix unitaire par€999,00 EURPrix promotionnel Du €849,00 EURSafe & Secure Payments
Épuisé -
 Épuisé
Burchda RX50
1000 W Brush-Less Motor
48V17.5Ah UL certification
60 km Max Electric Range
45 km/h Max SpeedPrix habituel Du €1.099,00 EURPrix habituelPrix unitaire par -
Burchda R5 PRO (mise à niveau 2026)
2000W Brush-Less Motor
48V30Ah UL certification
100 KM Max Electric Range
75 km/h Max SpeedPrix habituel Du €1.399,00 EURPrix habituelPrix unitaire par€1.499,00 EURPrix promotionnel Du €1.399,00 EURSafe & Secure Payments
Épuisé